Read the legend before interpreting the shape
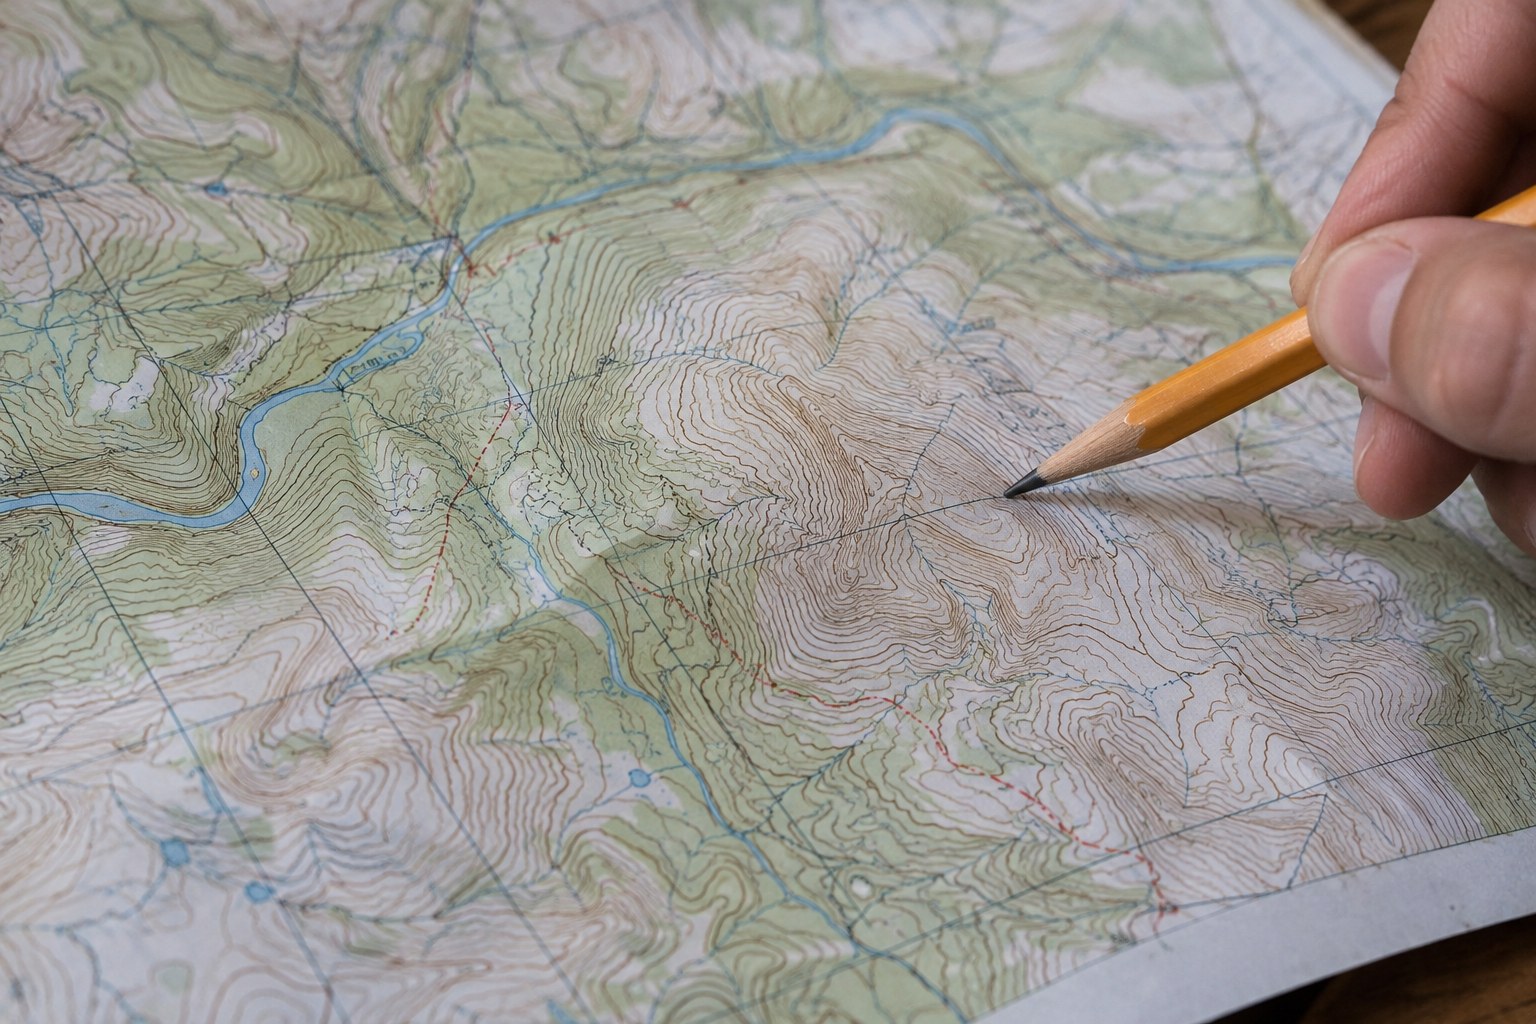
IGN explains that a contour joins points at the same elevation. The vertical interval between contours is specified for the map, and closely spaced contours indicate steeper ground than widely separated ones. Check the legend first: the spacing on the screen has meaning only in relation to the map you are viewing.
Start with a short section you can follow clearly. Locate the departure point and trace the proposed path across the surrounding contours. Ask whether it crosses many lines, stays roughly alongside them or alternates between those patterns. This gives you questions about the outing without pretending that the map describes every step.
Keep the map at a readable scale. Zooming out can make a complex hillside look like a simple green area; zooming in indefinitely does not create more reliable terrain information. Read labels and symbols together, and distinguish a marked path from a contour so you do not accidentally plan along the wrong kind of line.
Turn the map into a sequence of choices
Imagine two routes leading toward the same high point. One approaches directly, while another takes a longer line around the hillside. The shorter distance alone cannot tell you which better suits your day. Compare where each route gains height, how it returns and whether its surface and access are understood.
Look beyond the highest point. A route can finish with a descent that requires attention, followed by another climb that is easy to overlook when you focus on the main summit. Describe the whole sequence in plain language: climb out of the village, cross the hillside, descend to a junction, then regain height before returning.
Pay particular attention to where you might want to shorten the outing. A road that appears close across the page could lie on the other side of a steep slope or drainage line. Identify an actual authorised connecting path. The visual distance to an exit is not enough to make it usable.
Compare the outward and return directions if you are considering reversing a loop. The same terrain appears in a different order, changing which sections you meet while fresh and which come later. Neither direction is automatically preferable; the decision depends on your priorities and the route's actual access arrangements.
Keep the map's limits visible
Contours do not tell you whether a surface is muddy today, whether roots are exposed or whether a passage is closed. A hillside with a moderate overall gradient can still contain a short awkward step. Combine the terrain picture with current route descriptions, access information and observations.
Avoid converting the contour pattern into a precise finish time. Instead, use it to identify sections that need more allowance or may be walked. If the proposed route has far more climbing complexity than your familiar outing, reduce other demands rather than relying on the same average speed.
A useful preparation note can be only a few sentences: where the sustained climb lies, which junction begins the descent, where an authorised shorter return branches off and which feature remains unclear. Take a map that remains accessible during the outing, and stop somewhere suitable to read it. The preparation has succeeded when it improves your choices, not when it produces a confident number unsupported by the terrain.