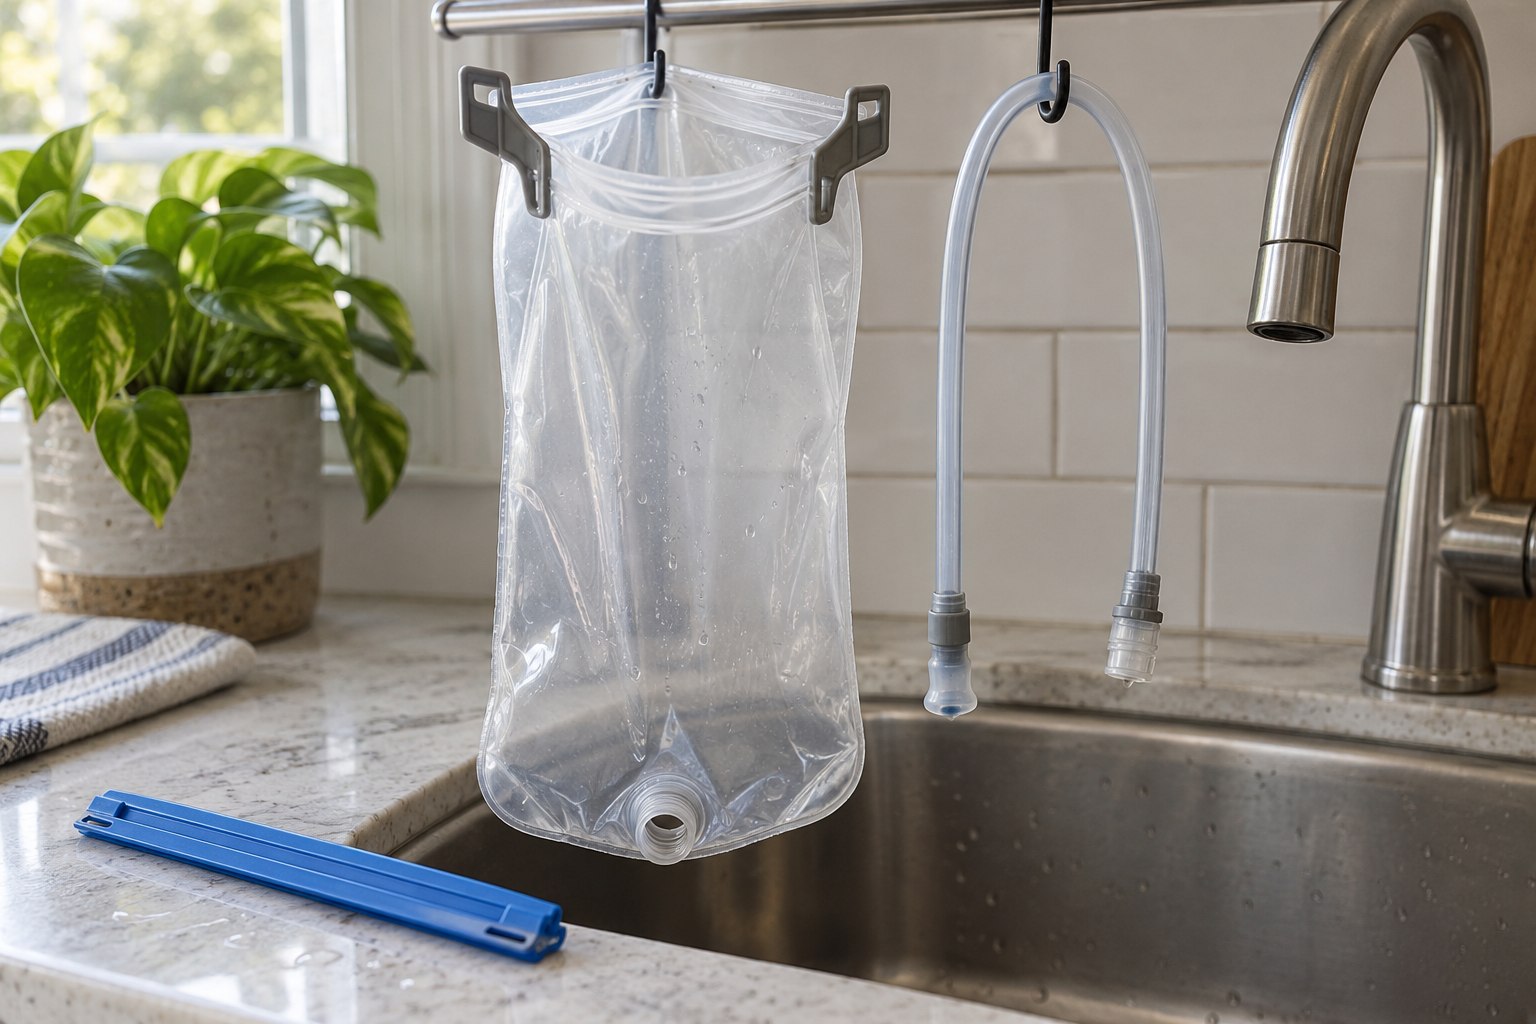
Identify the exact system
Find the care instructions for the reservoir model, tube and valve. Check which parts are designed to disconnect and how. Different products permit different cleaning methods; a reversible design or dishwasher allowance on one model does not establish the same permission for another. Keep the instructions beside you on the first clean rather than relying on a remembered demonstration.
Arrange a clean work area and a place for each small component. A shallow tray helps keep a removed piece from disappearing near the sink. Photograph the assembled arrangement if that will help you put it back correctly. Do not dismantle a joint simply because it looks like it might separate; confirm the method first.
Follow the product’s cleaning sequence
Use only the cleaning approach and products permitted for the system, including the specified quantities or contact times when relevant. Do not combine cleaners or increase a concentration to compensate for a missed cleaning. CamelBak’s guidance stresses cleaning the reservoir, tube and valve, rinsing thoroughly and allowing the complete system to dry before storage. Refer to the exact model instructions for how to carry out those steps.
Work through the parts in an order you can track. It is easy to focus on the large visible bag and forget a cap or connector sitting beside it. Keep cleaned parts separate from items not yet addressed. If you cannot reach or inspect an area using the approved method, seek the manufacturer’s advice rather than pushing a sharp tool into it.
Make drying visible
Set the components in the arrangement recommended by the manufacturer, with enough space to inspect them later. Avoid rushing to reassemble because the outside feels dry. Check the areas where moisture can remain visible, including folds and connections, and continue drying when needed. Keep the pieces protected from dirt while they are waiting.
Choose a storage location where the system will not be crushed under heavier kit or confused with an uncleaned one. A simple routine—cleaning area, drying area, then storage—makes its status obvious. If several people use similar reservoirs, label or organise them so compatible parts remain together rather than making a mixed set during the next hurried packing session.
Check readiness before the next outing
Inspect for damage and follow the recommended preparation before filling. Check the assembled system for leaks somewhere a spill is manageable. Make sure the tube routing and valve operation are familiar before loading the vest. If a component remains difficult to clean, damaged or unreliable, resolve that before depending on it on a remote route.
Keep the product reference and any replacement-part details with your kit notes. This is more useful than remembering only the advertised capacity. The aim is a complete system whose condition you understand, with a care routine you can repeat after an ordinary outing without guessing about a missing piece or an uncertain cleaning product.